Charcoal Firing and Palm Sized Kilns - March 2018
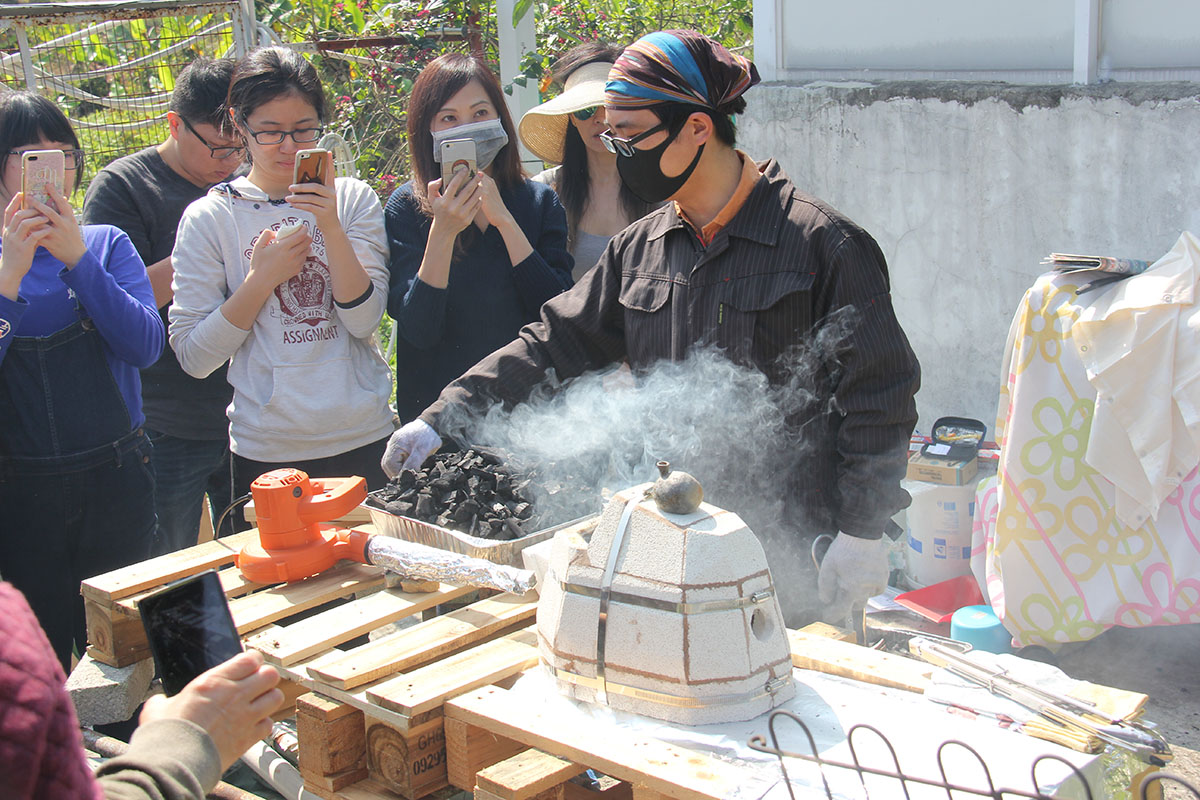
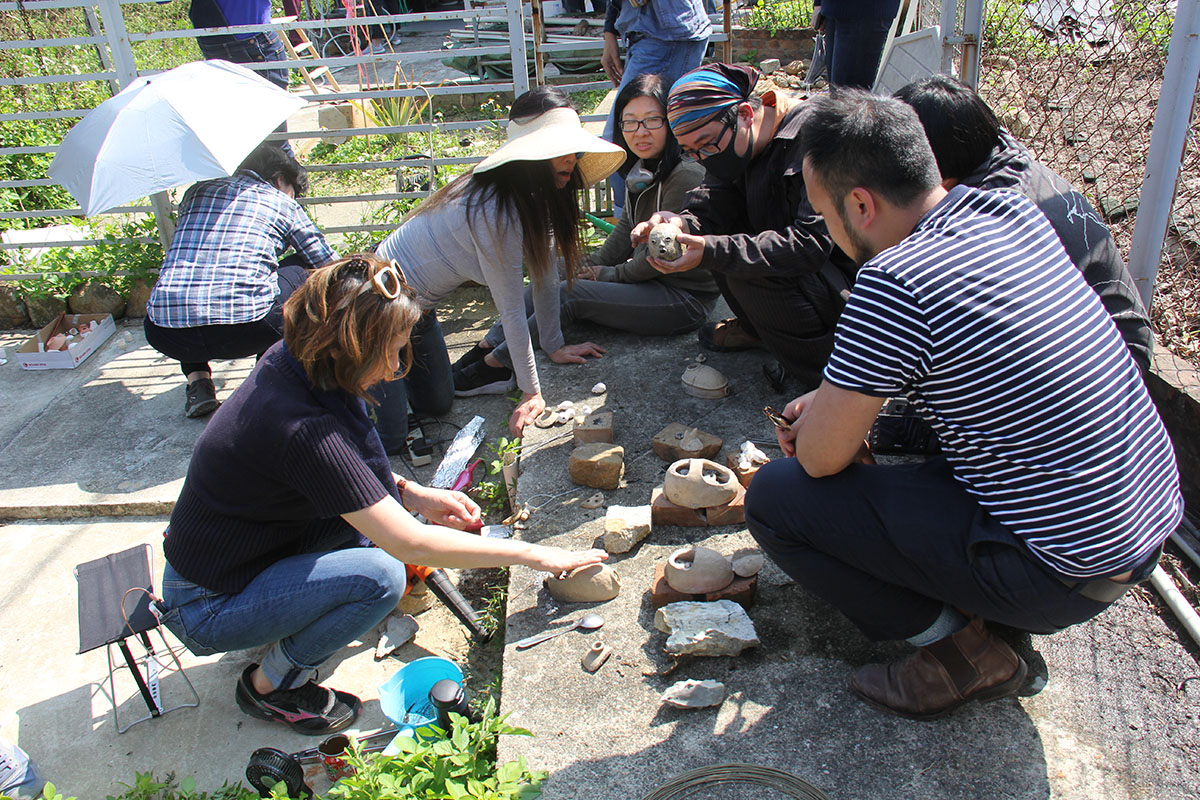
This month I had a really fun and memorable time firing these charcoal kilns during an event held by visiting Jingdezhen artist Cheung Lap Ming and JL Ceramic Studio.
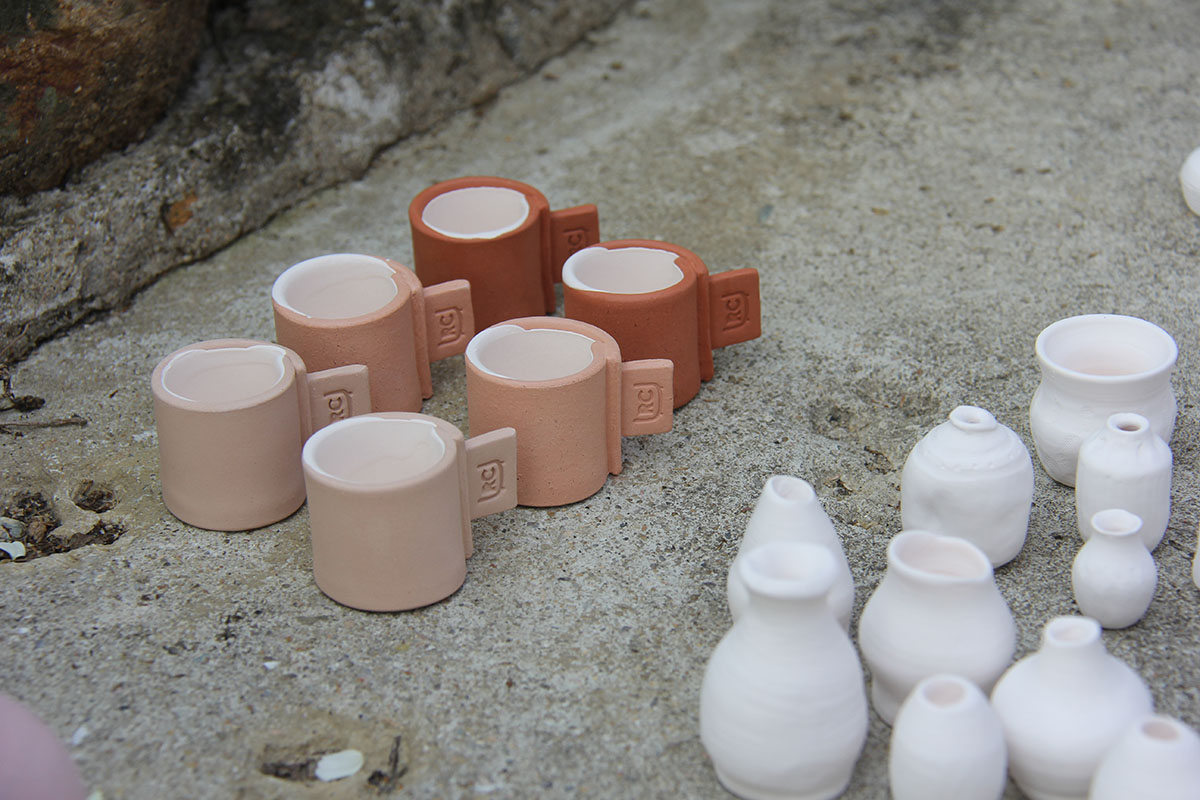
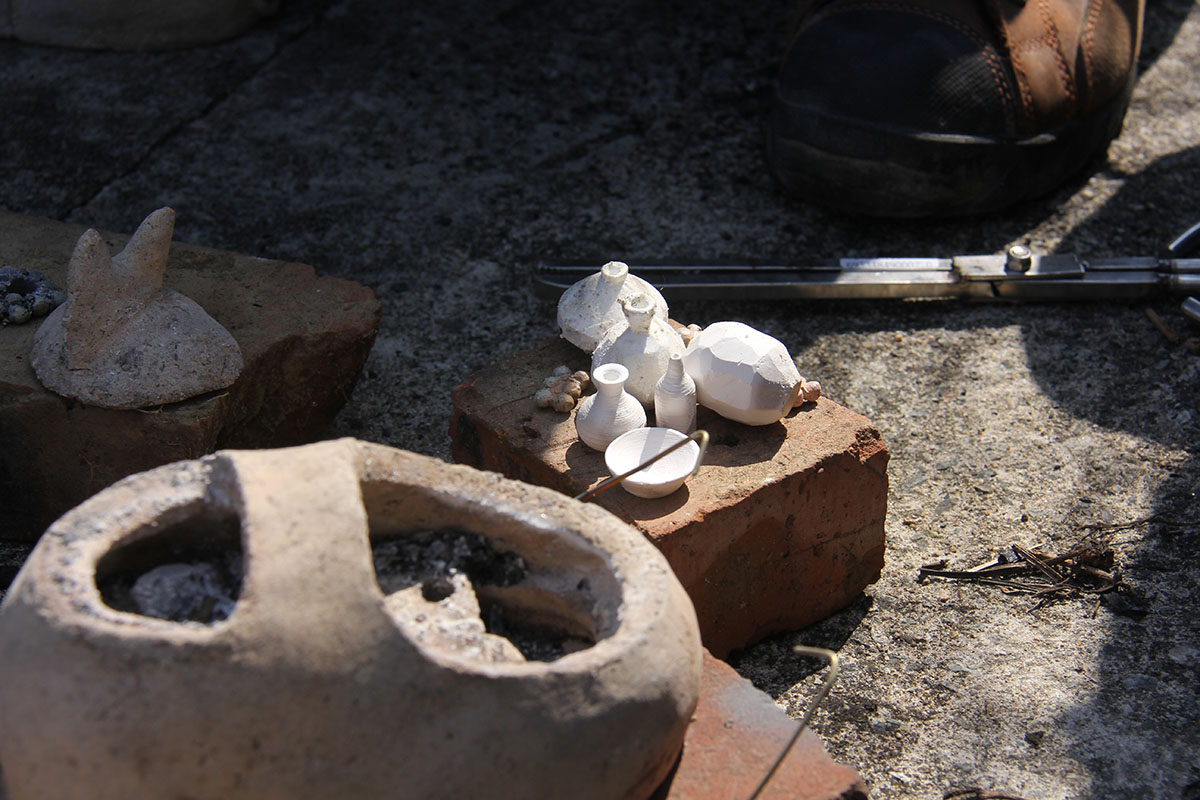
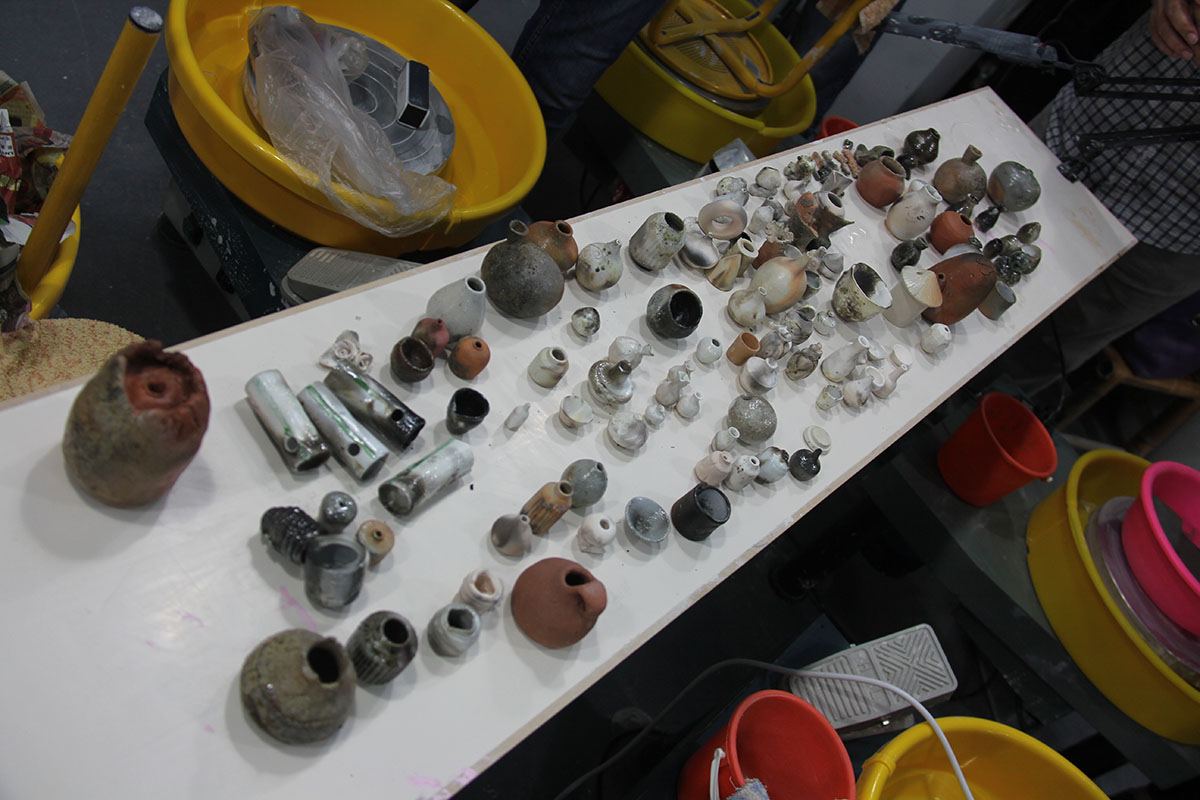
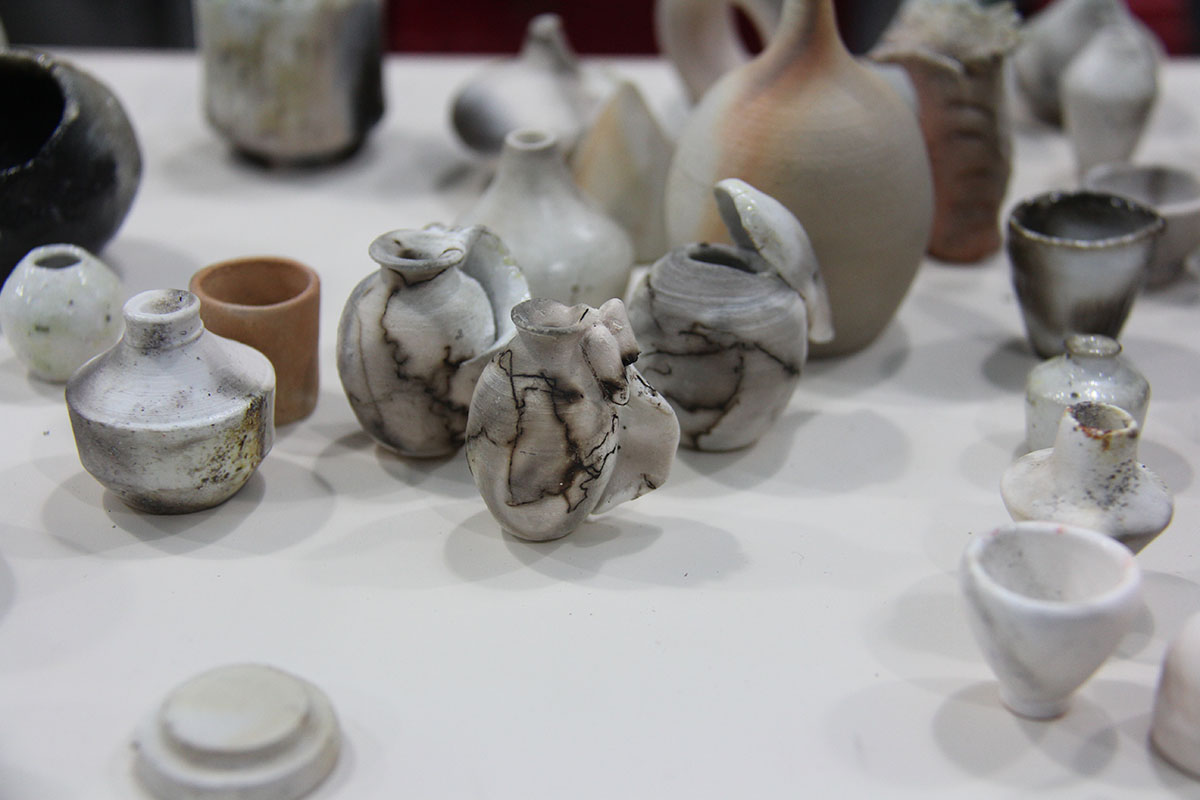
Cheung Lap Ming is a Chinese ceramic artist who specialises in making miniature charcoal fired kilns, for that reason he also specialises in throwing and making tiny miniature pots!
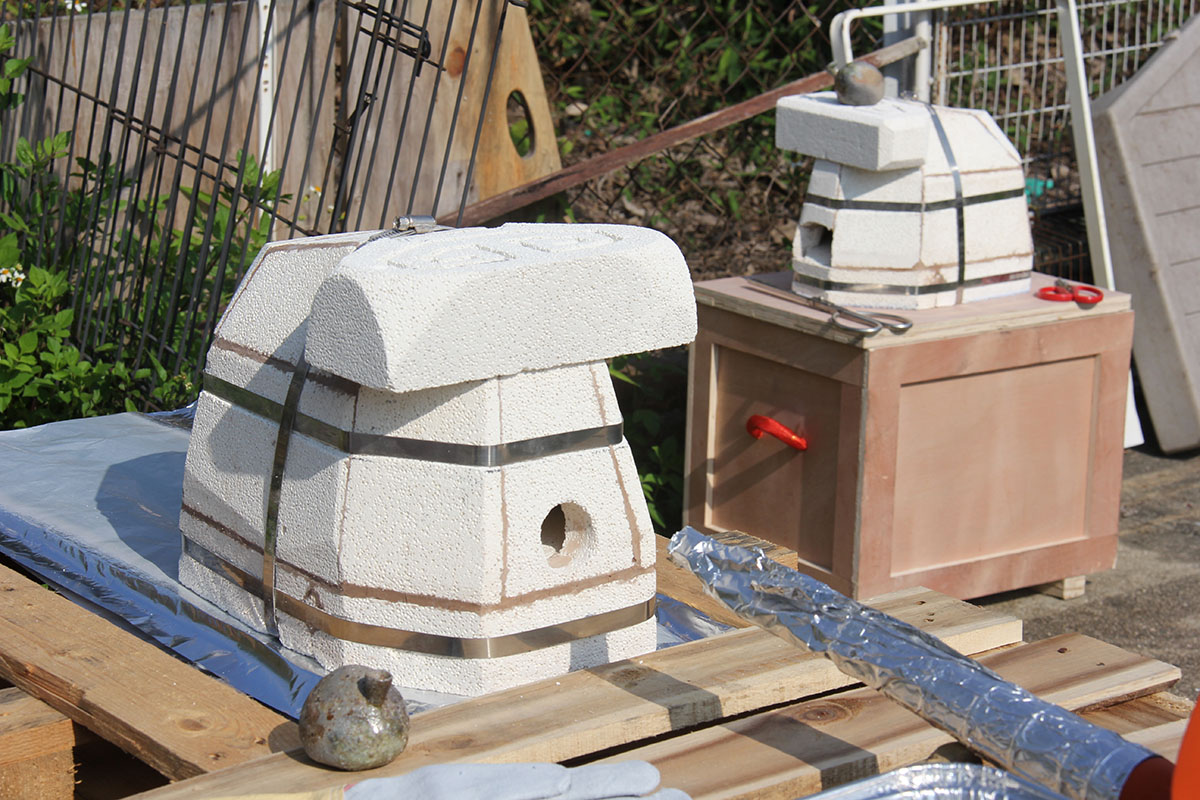
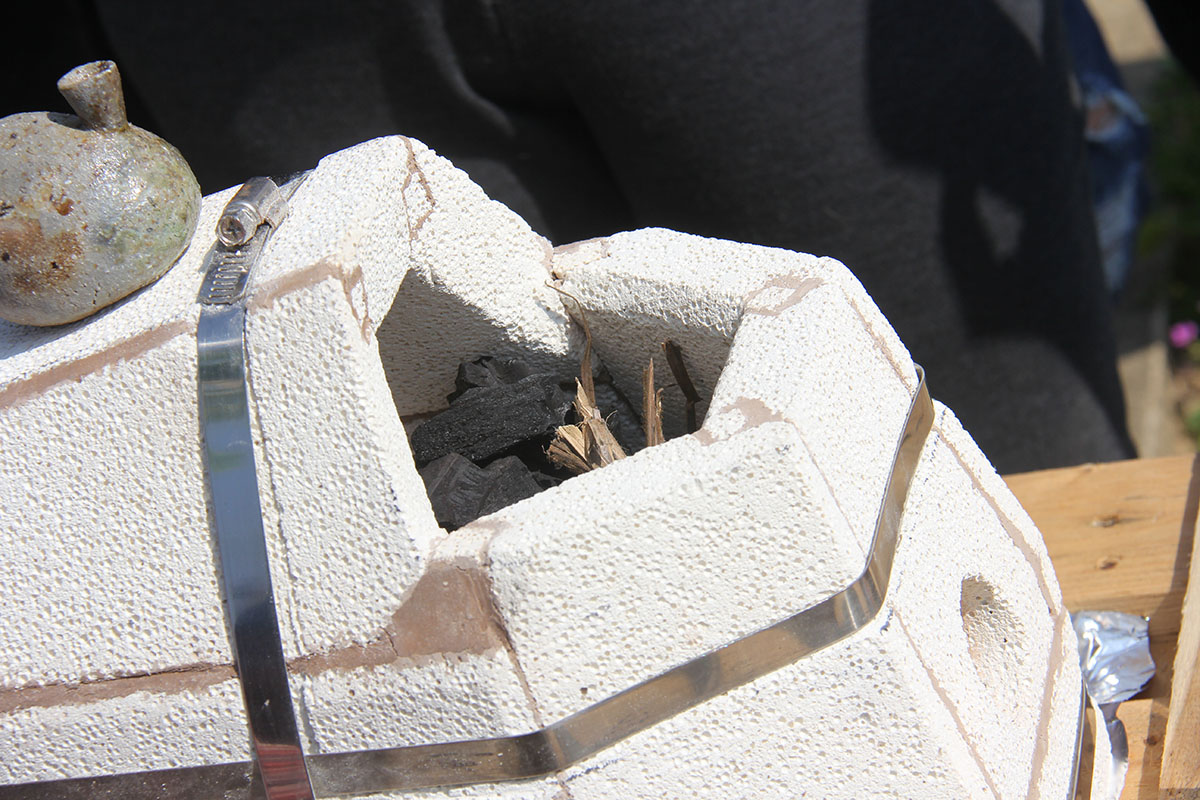
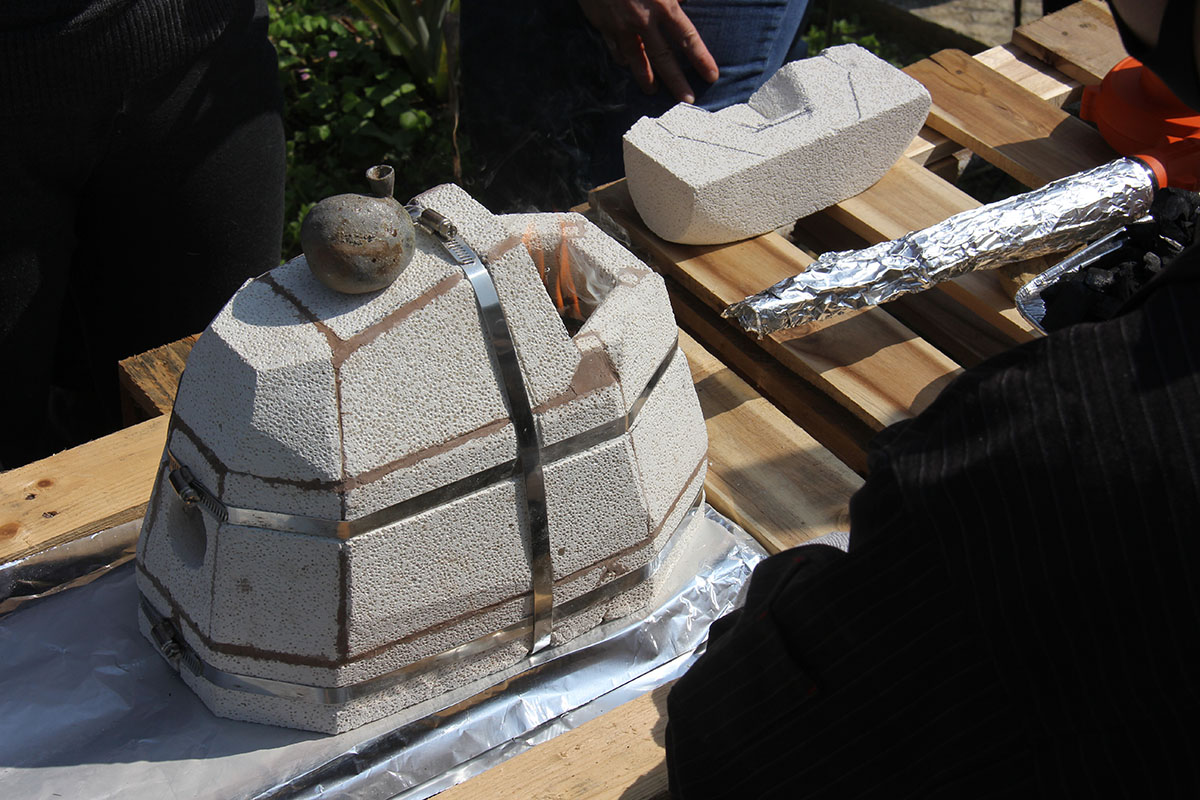
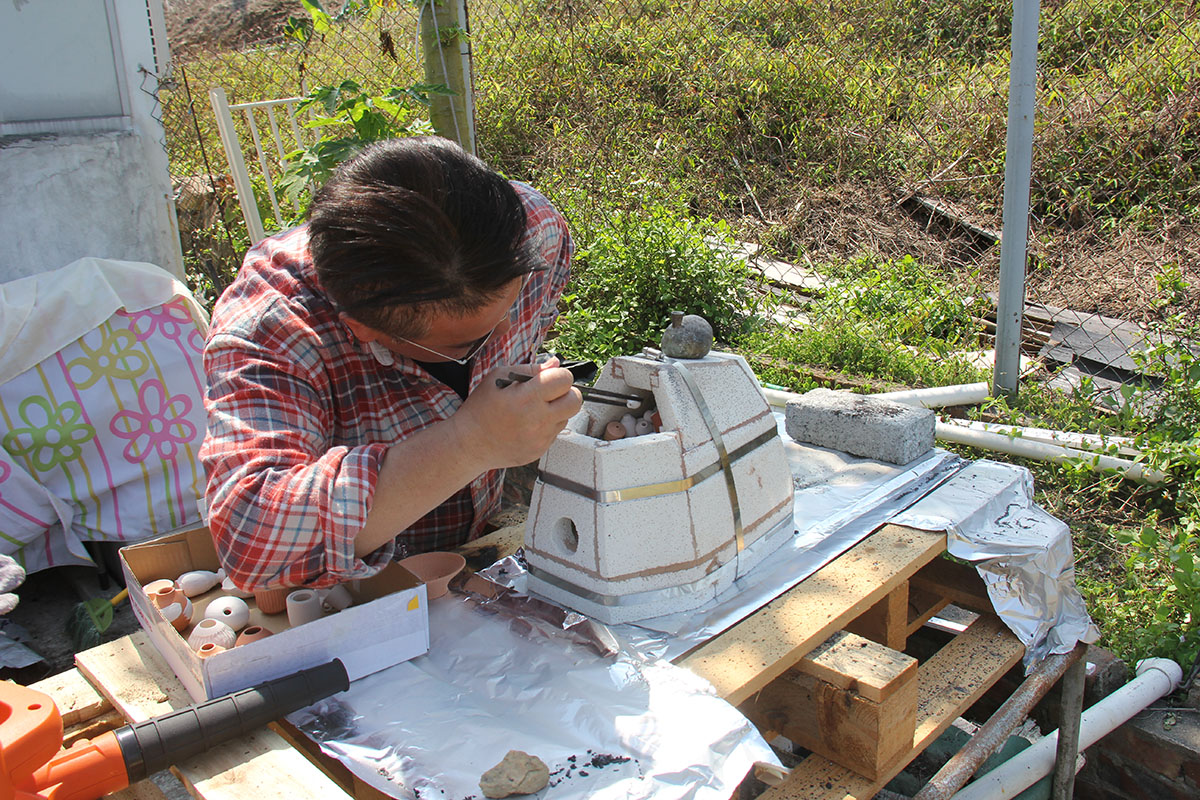
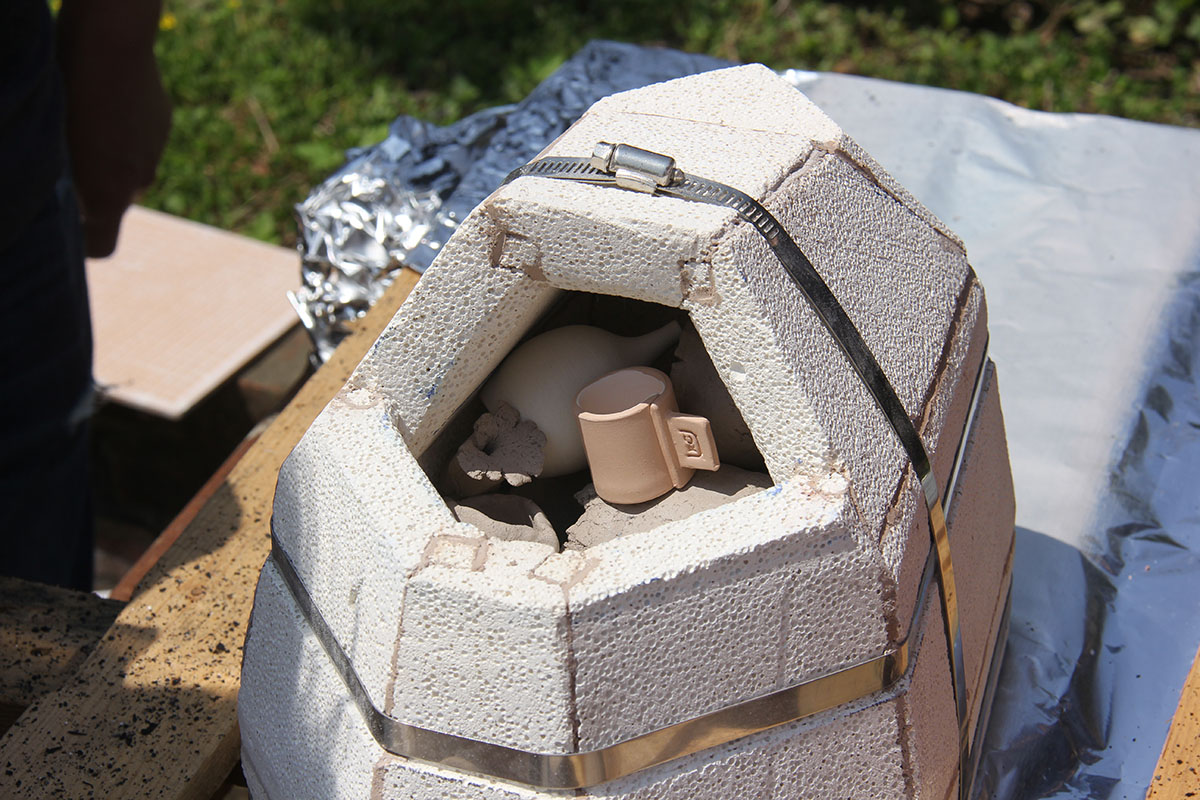
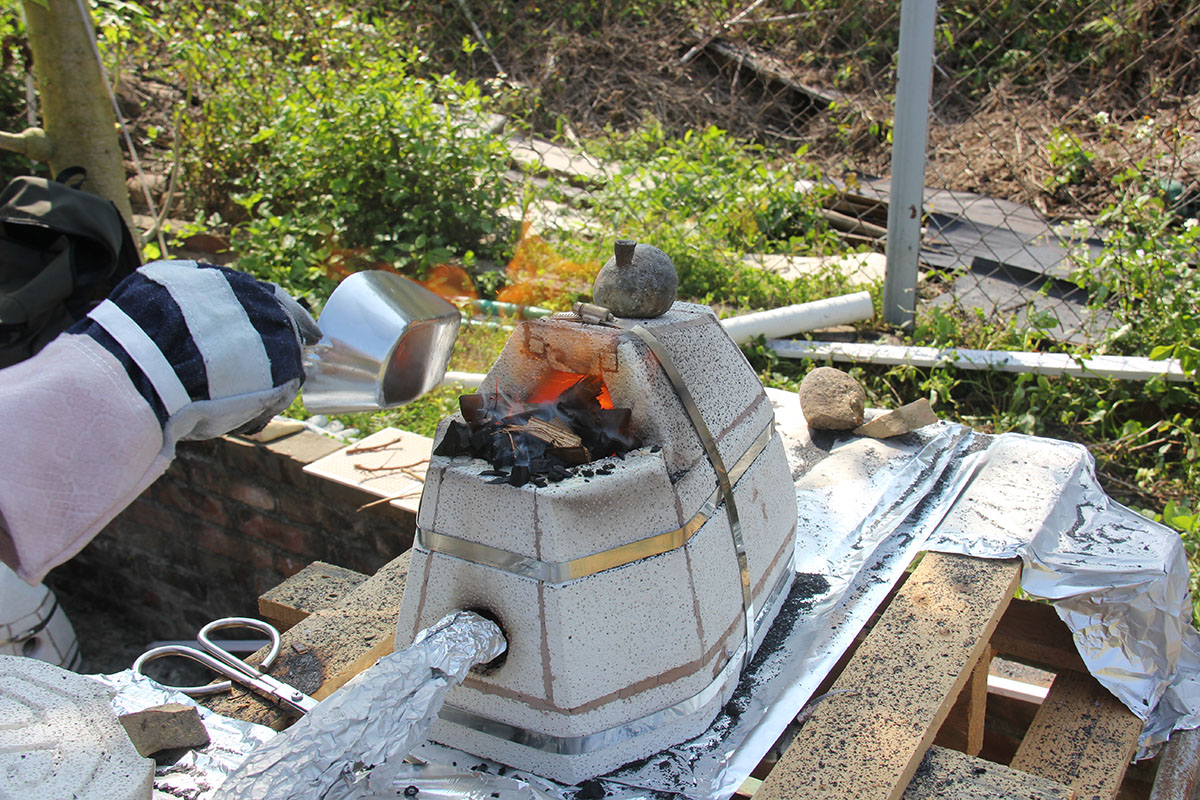
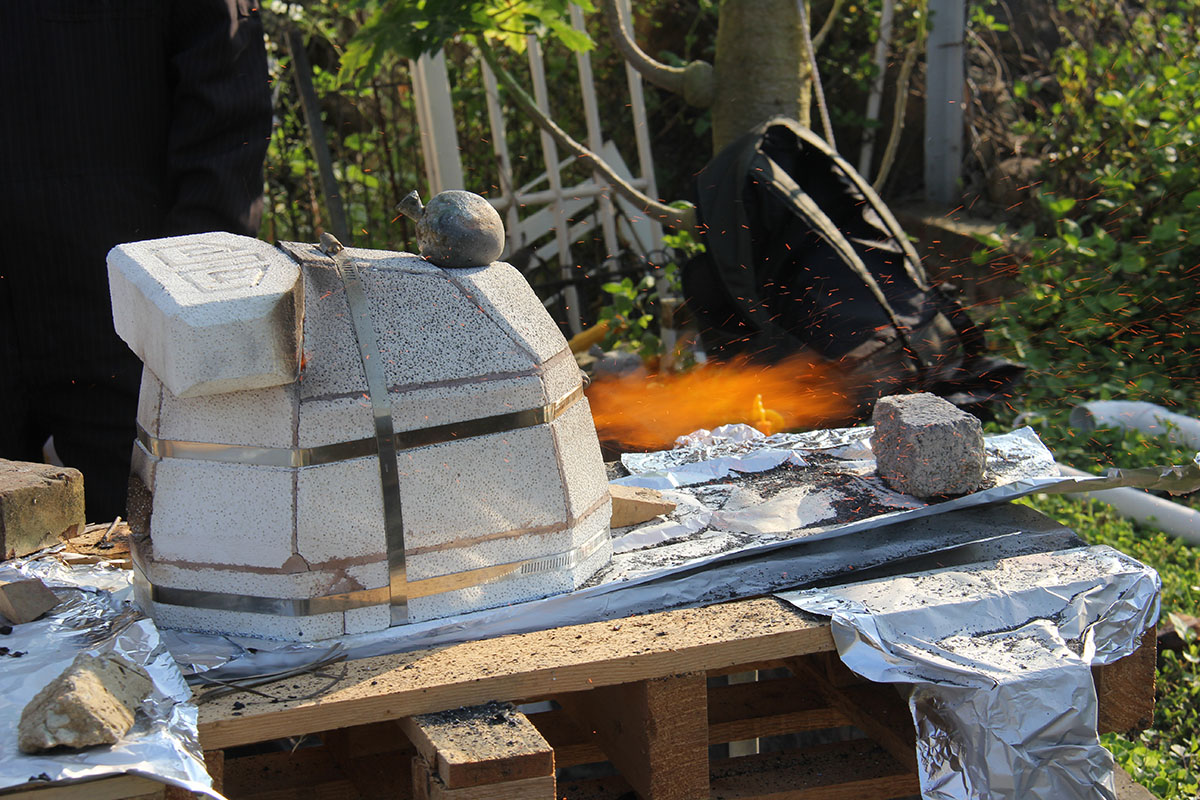
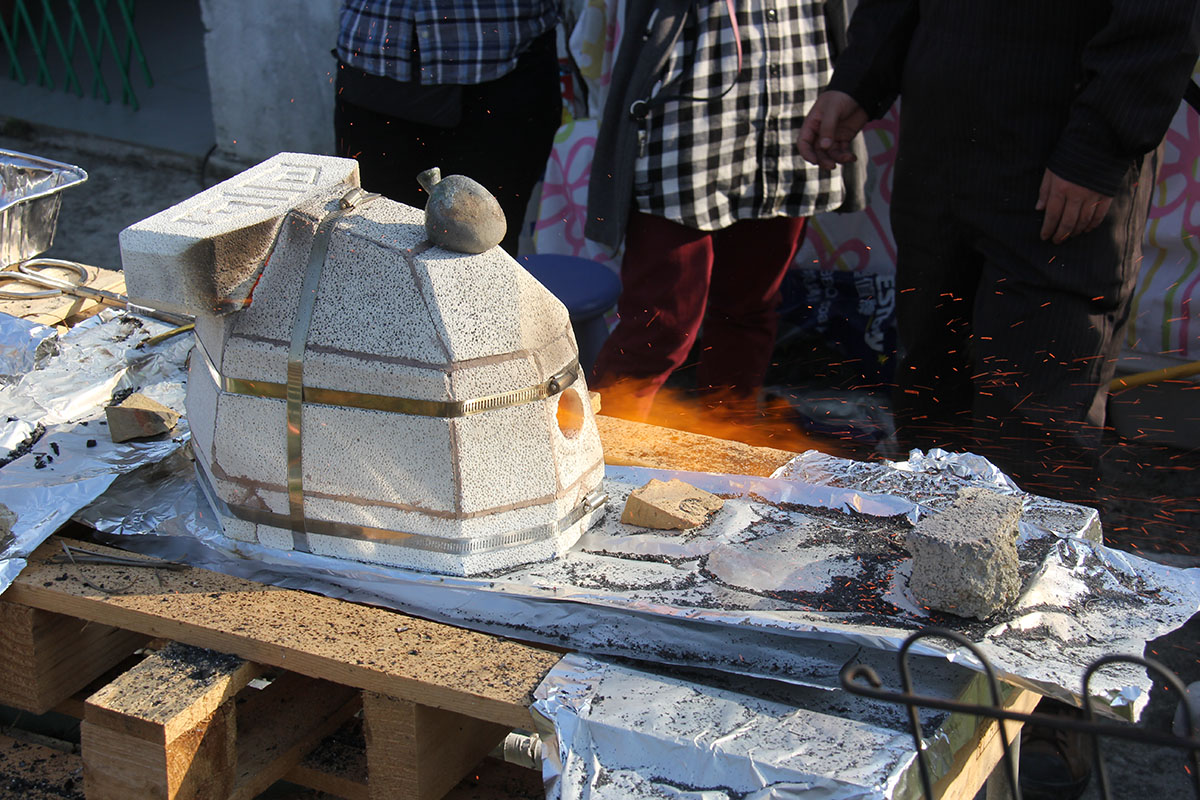
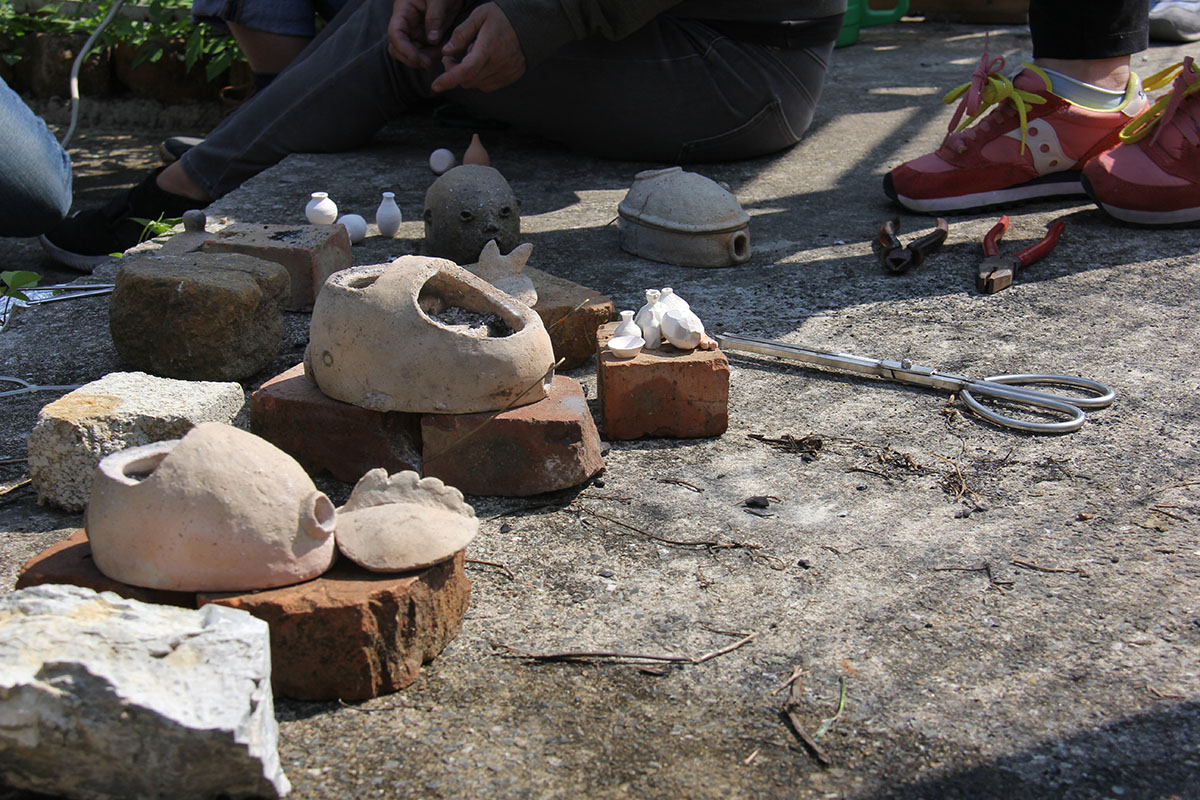
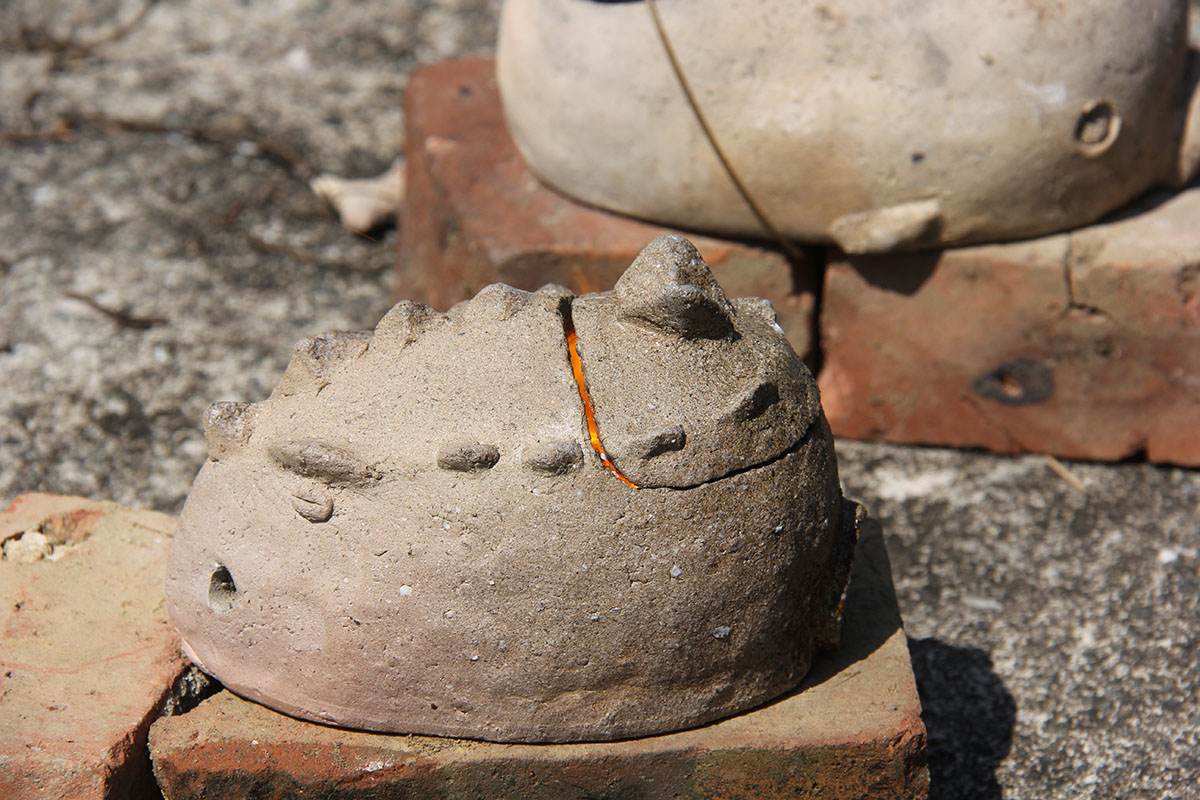
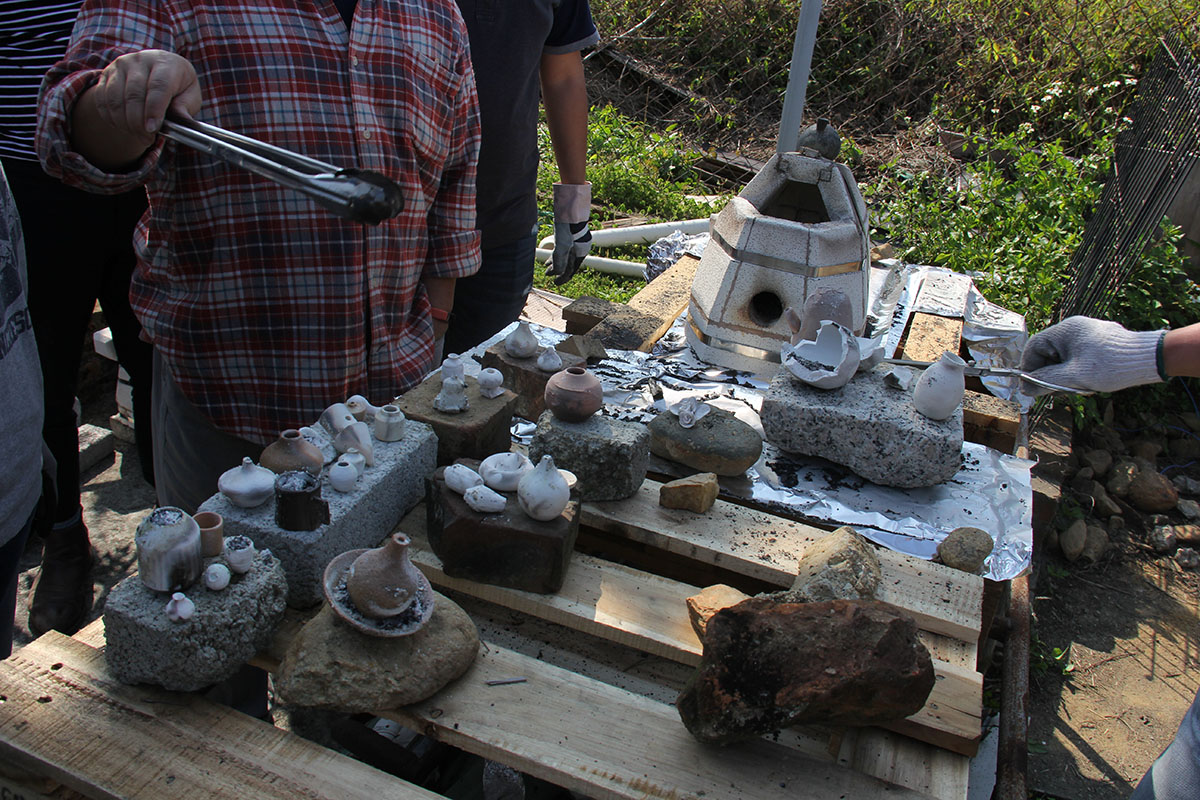
On this day he brought with him two miniature kilns built from ceramic bricks and several small palm sized kilns which he hand built from clay and fired to stoneware temperature. We spent the morning and afternoon firing our miniature pots and in the evening went back to the studio to build our own palm sized kilns.
Firing the charcoal kilns are a really fun experience for any ceramic enthusiast. It is a real pleasure to be working with fire and being able to see your raw work transform in to ceramic. And it is truly exciting to experience first hand the intensity of the process, and the extreme heat and energy going into the work.
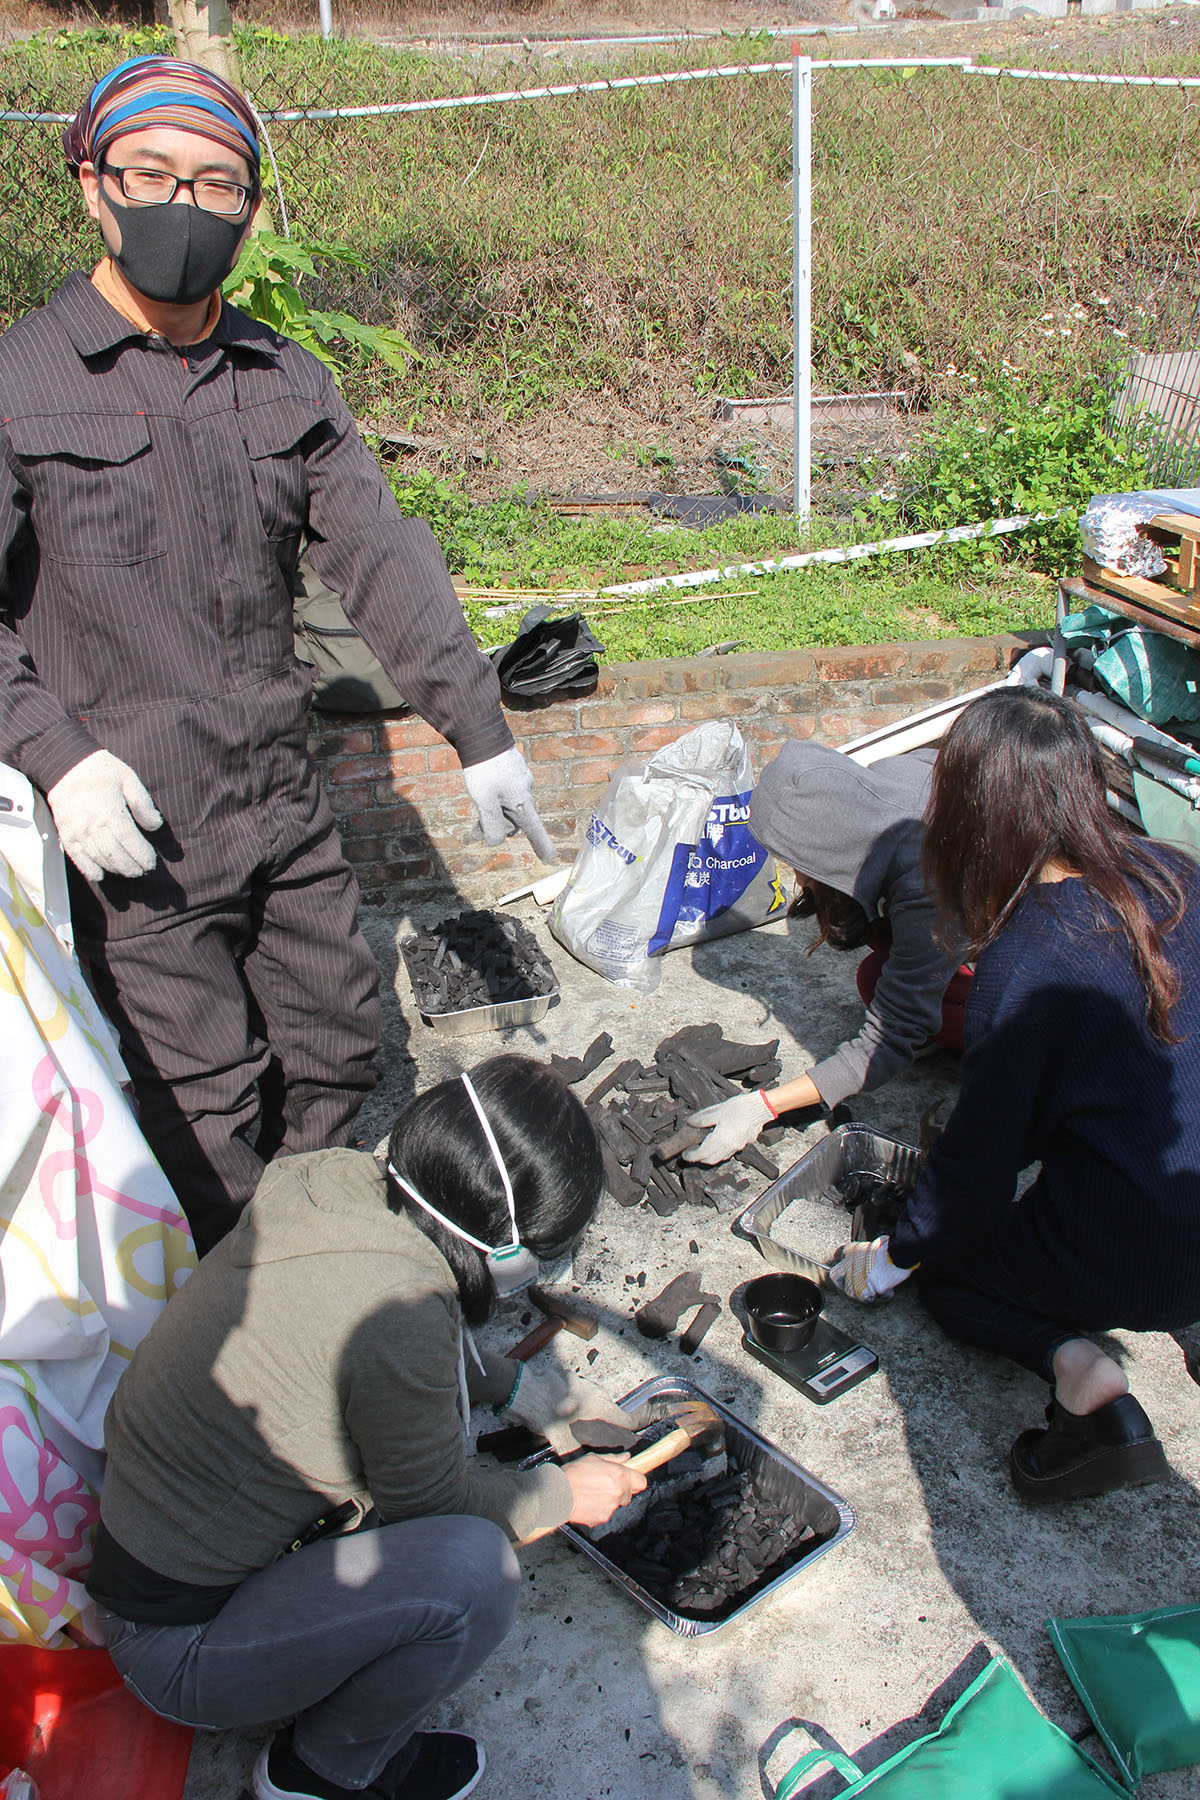
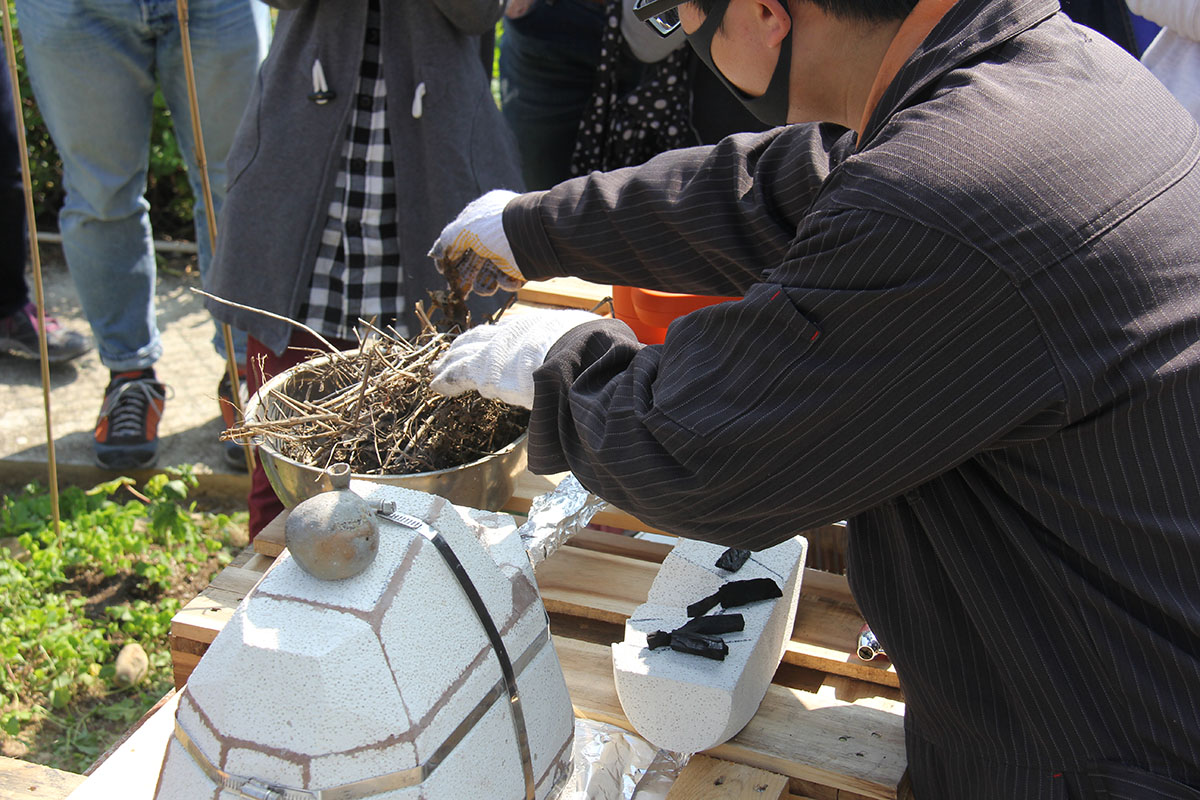
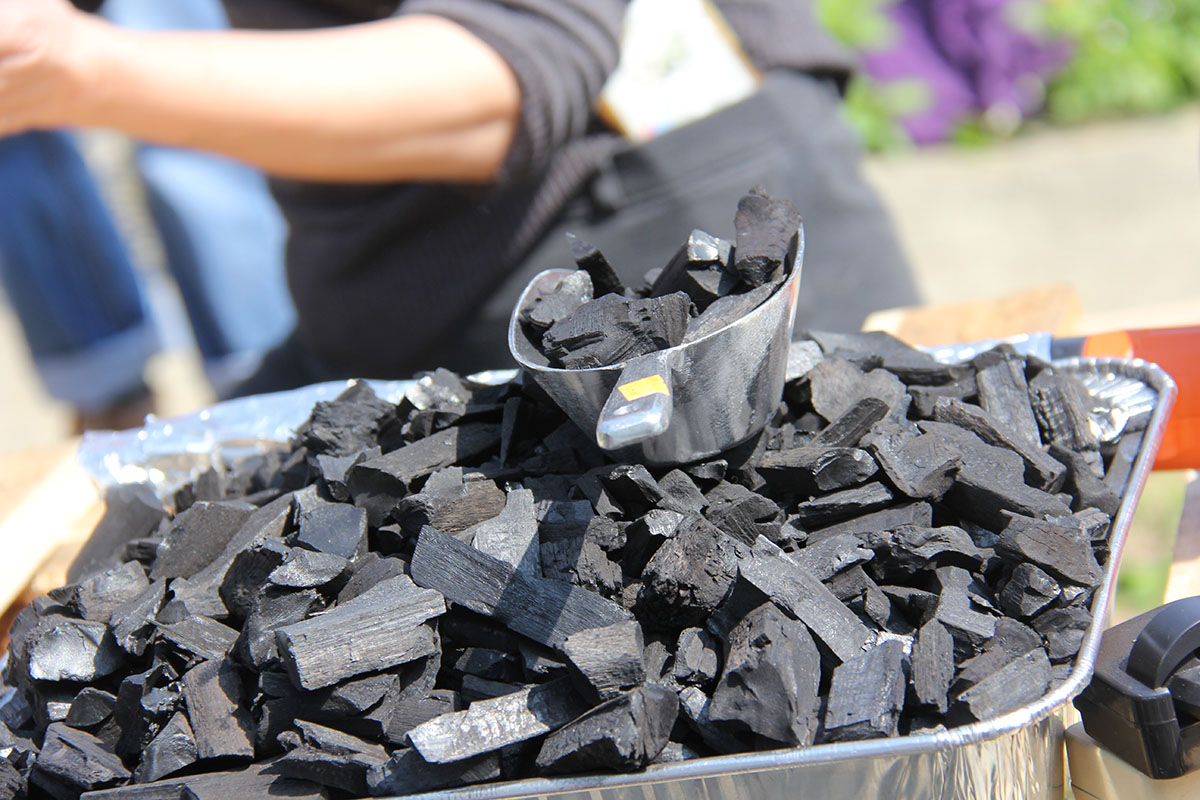
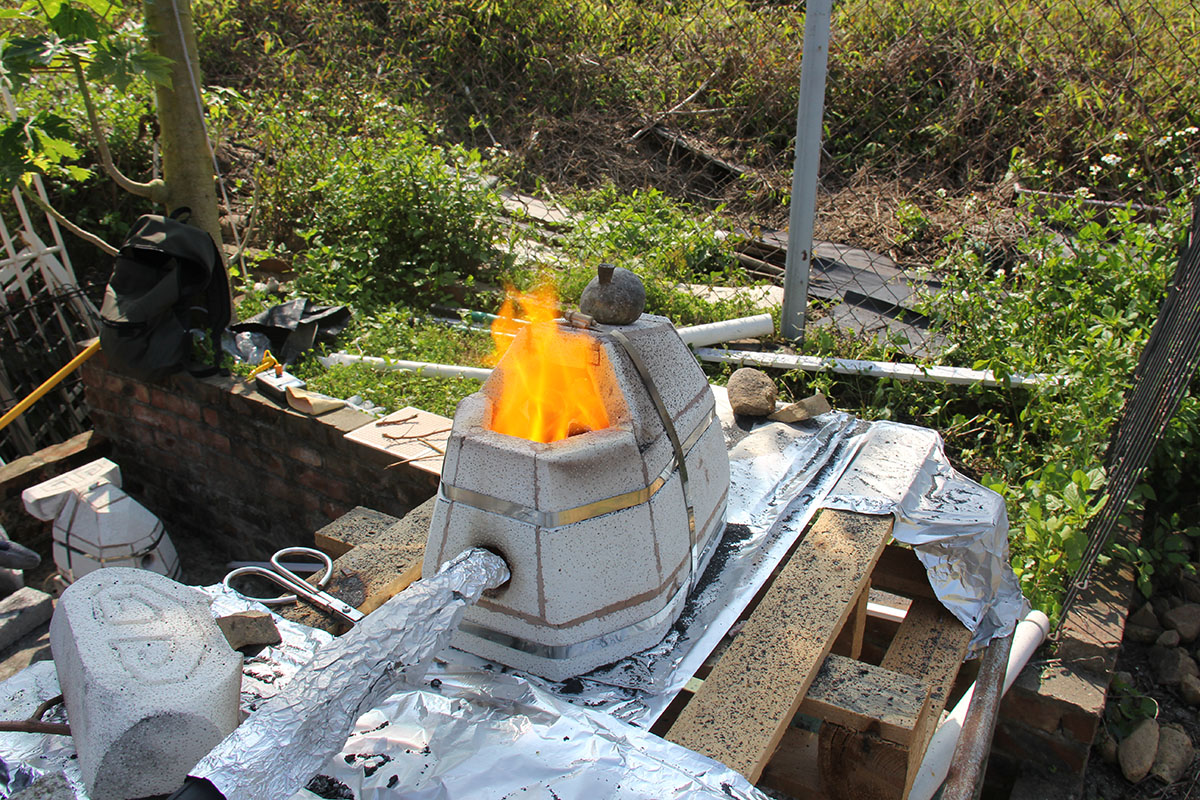
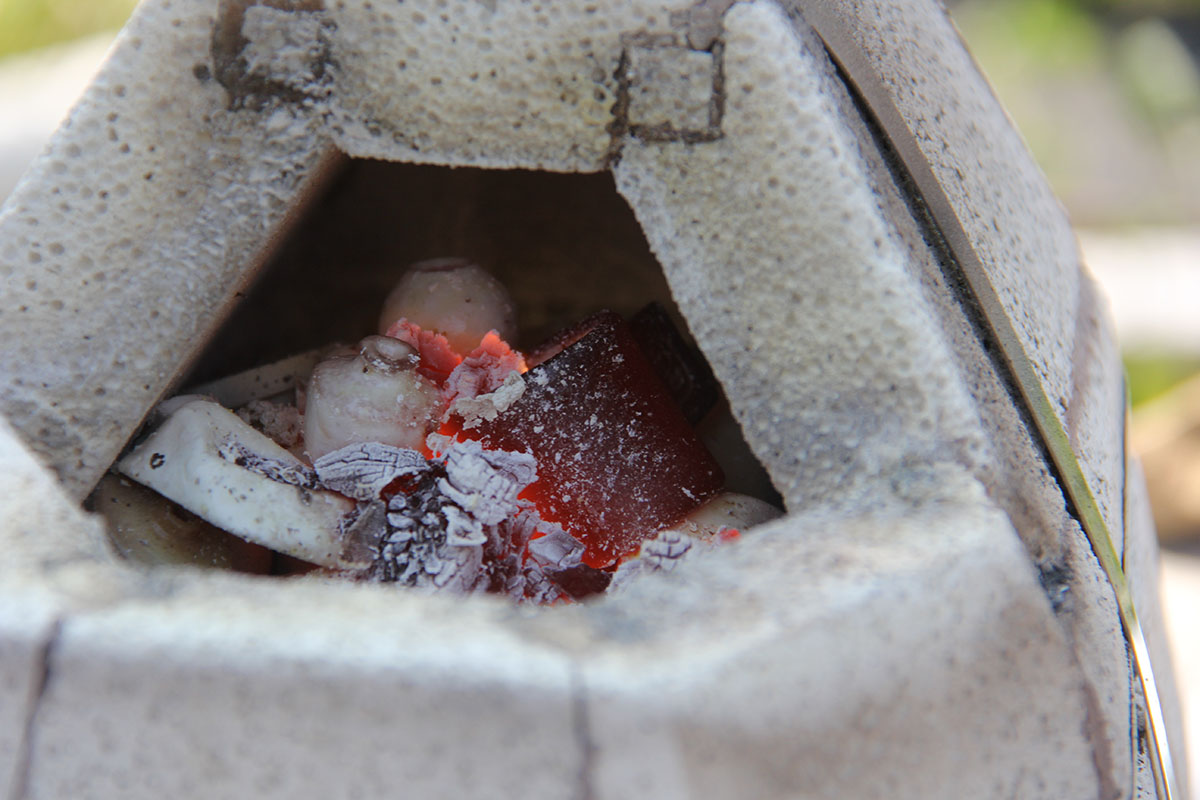
Each firing takes roughly one hour to bring the kiln to 1260˚C or cone 9 temperature. Cheung Lap Ming estimates the heat work going into the kiln based on the time and the weight of charcoal being fired. For the miniature kiln we would raise the temperature slowly for the first 20 minutes giving short bursts of air with a leaf blower at 2-3 minute intervals. After 20 minutes the temperature would have risen to roughly 600˚C. Once this was achieved we could then leave the leaf blower on to give a constant flow of air and keep feeding the kiln charcoal as it burned away. 1260˚C would be reach after about 40 minutes or when the 1.5kg of charcoal was depleted.
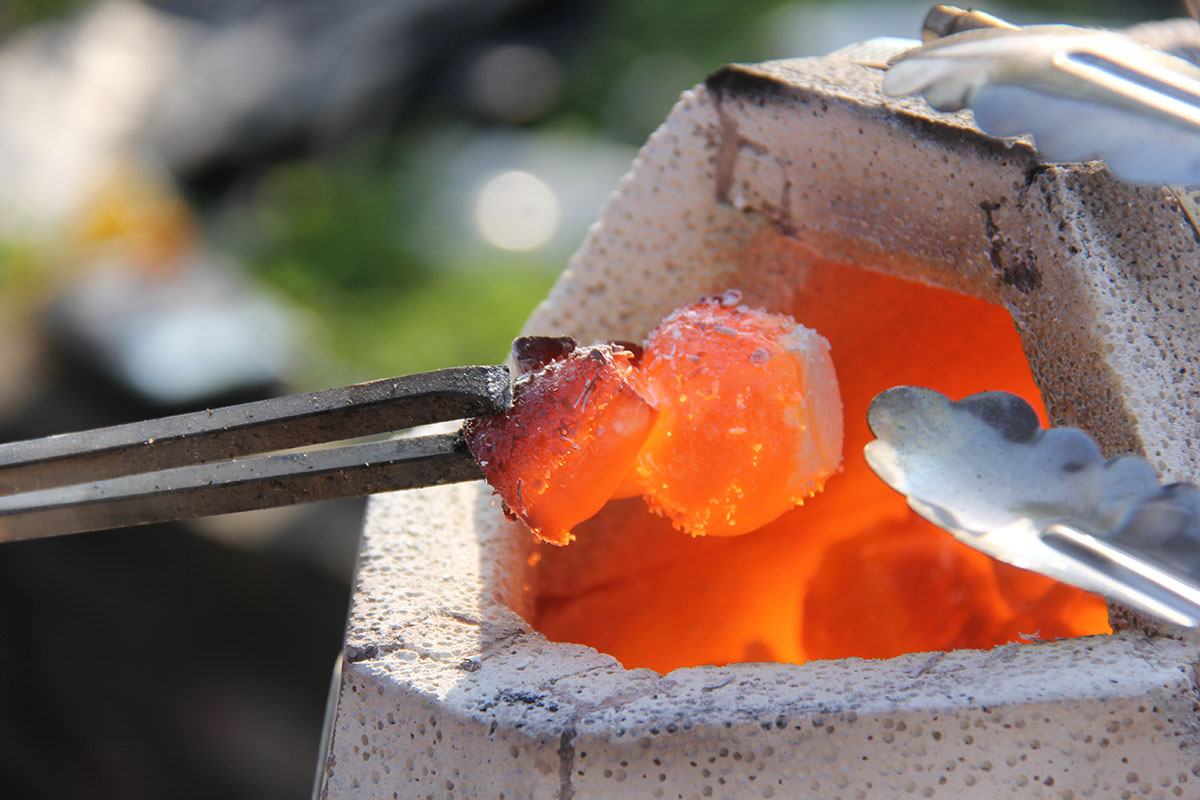
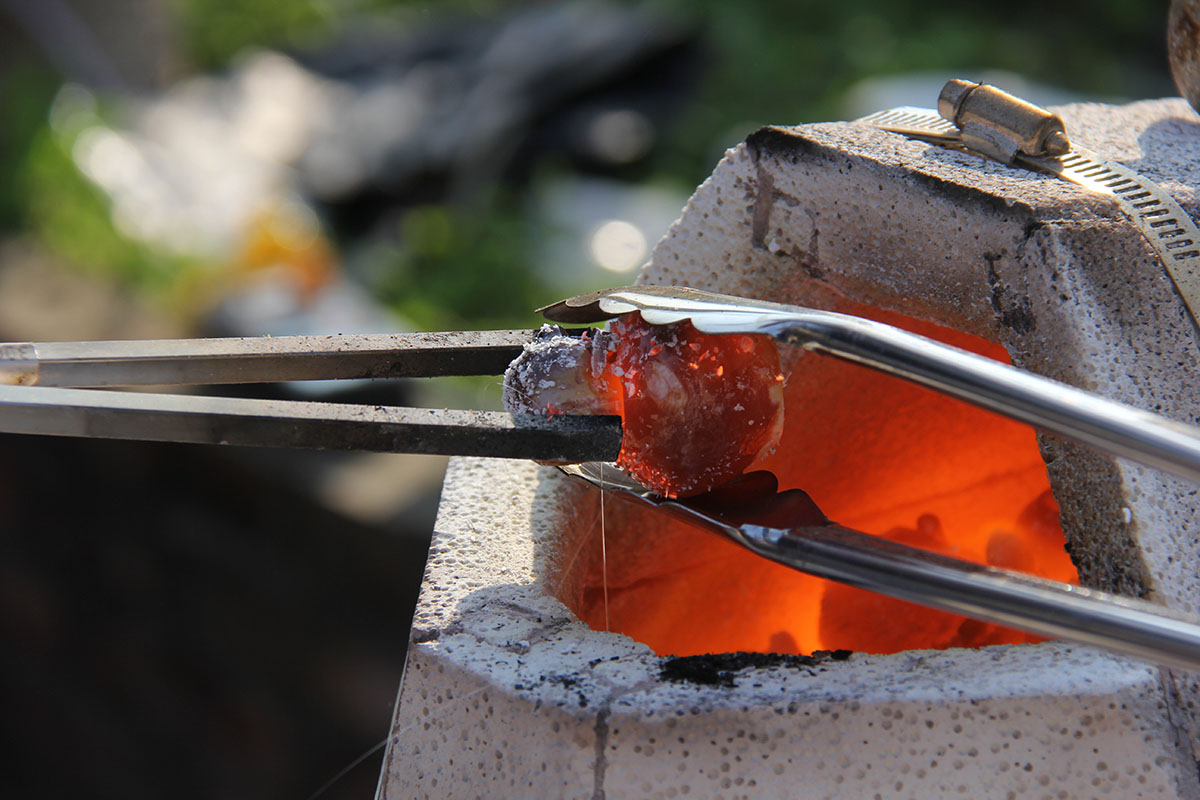
The exciting part of the experience was opening the kiln every now and then to replenish the burnt charcoal. Inside the kiln you could see your glowing pots and great big flames would jump out of the opening and dance around! (Also another way you can estimate the temperature of the kiln is by judging the colour of the glow. The pots will glow from orange to red to bright red to white, we were looking for a bright red glow for 1260˚C.)
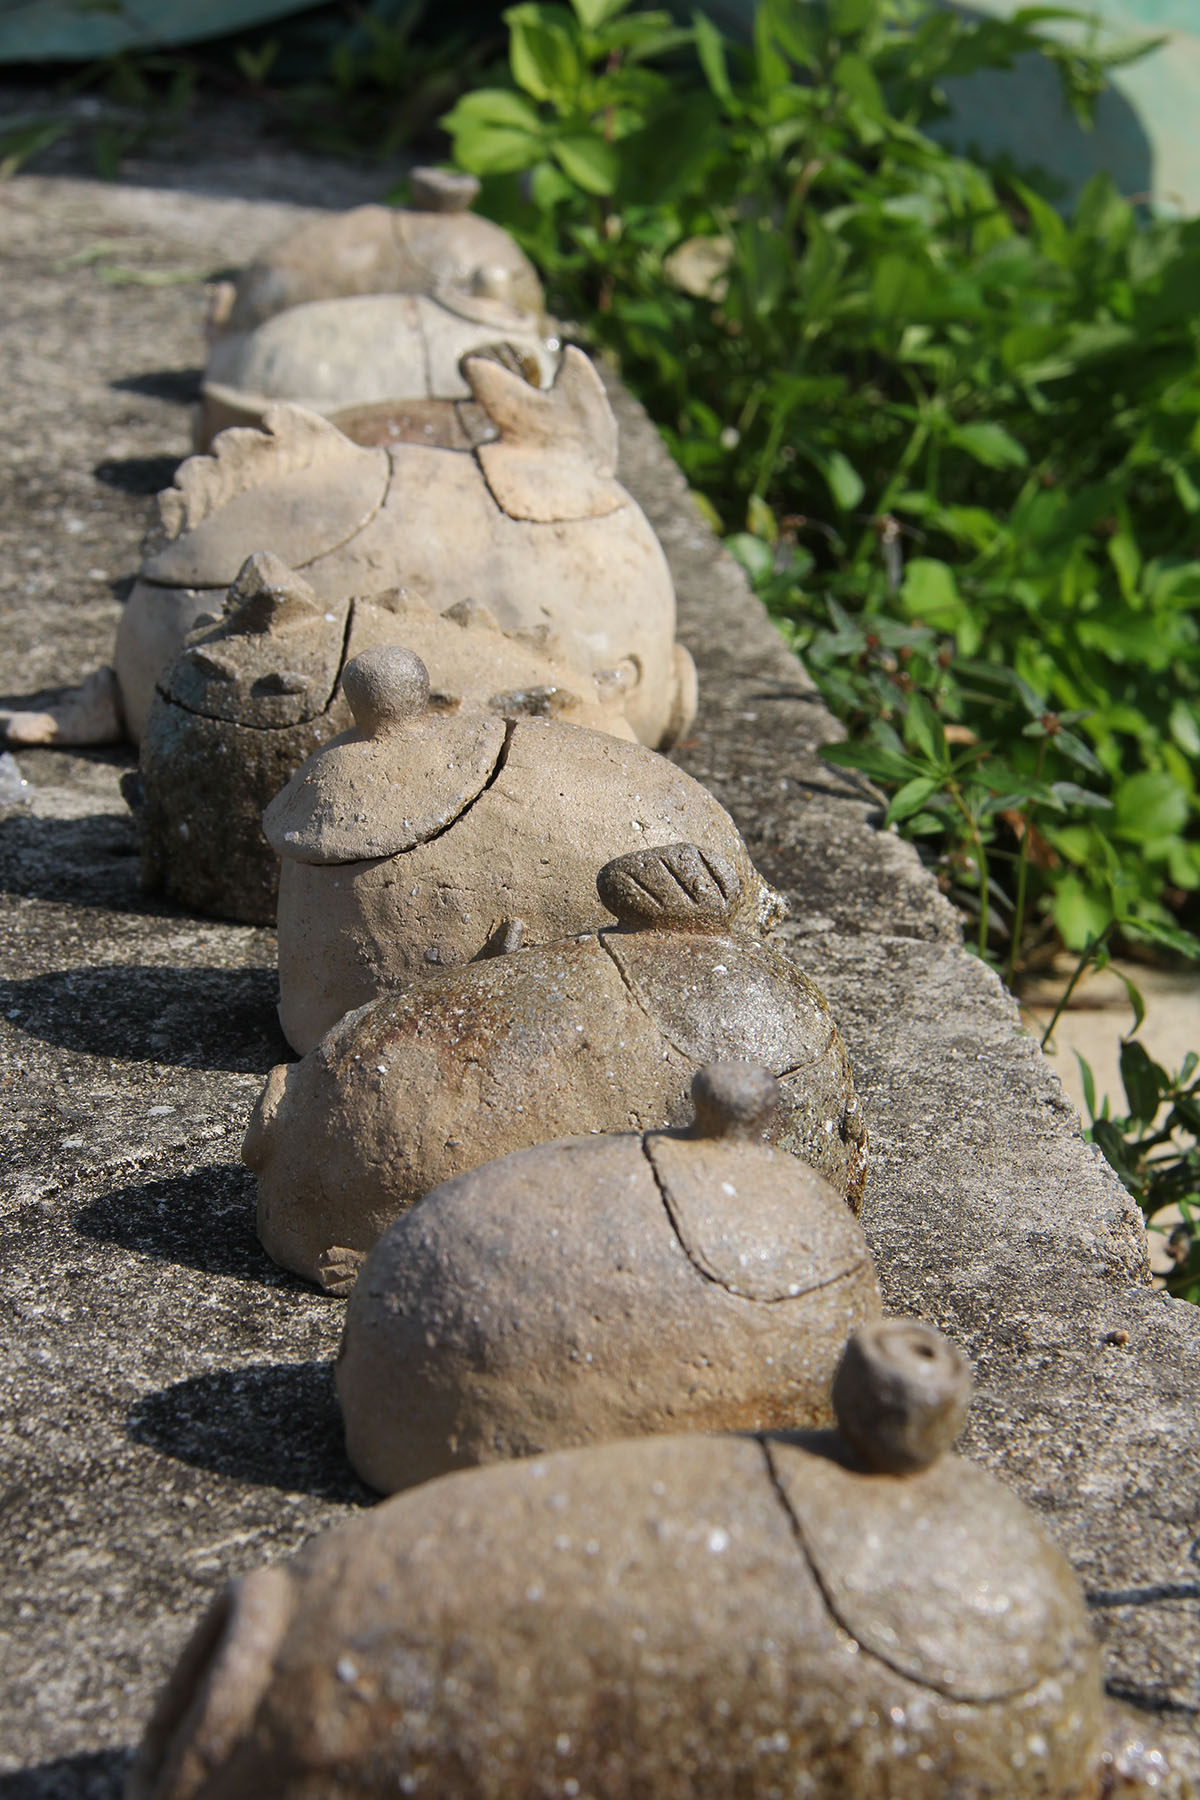
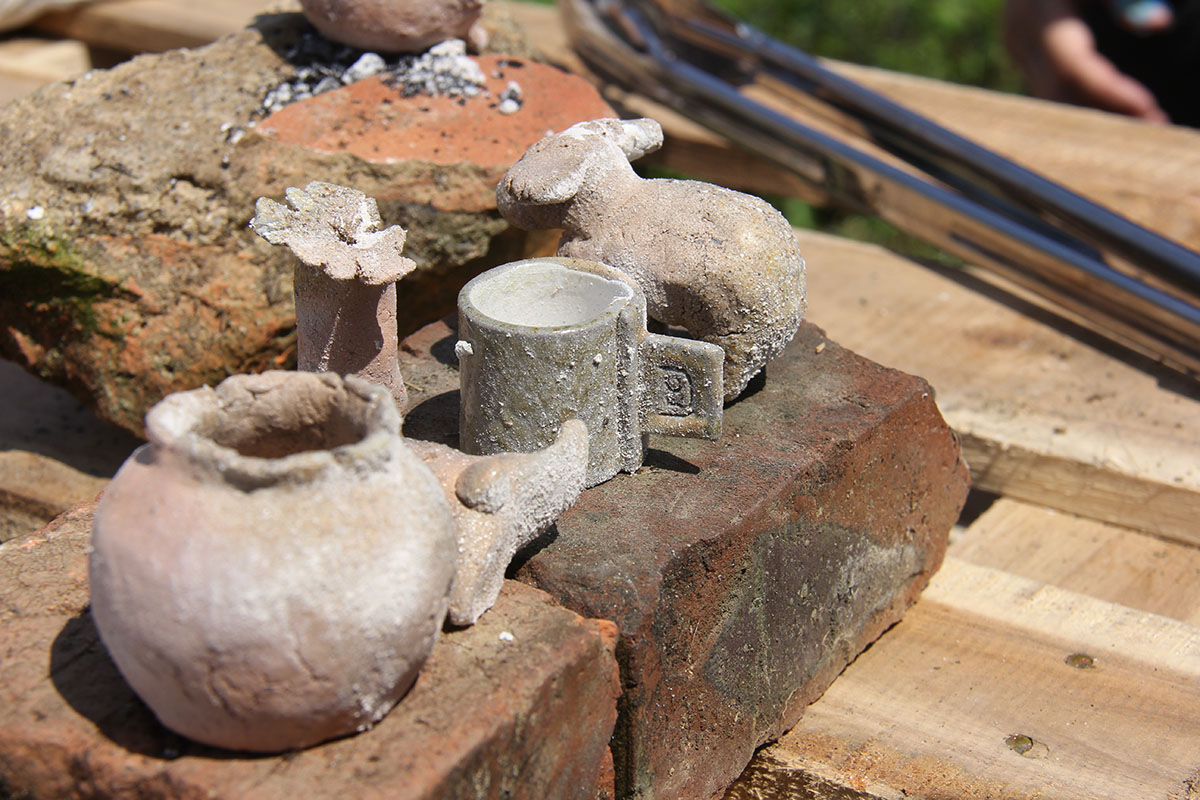
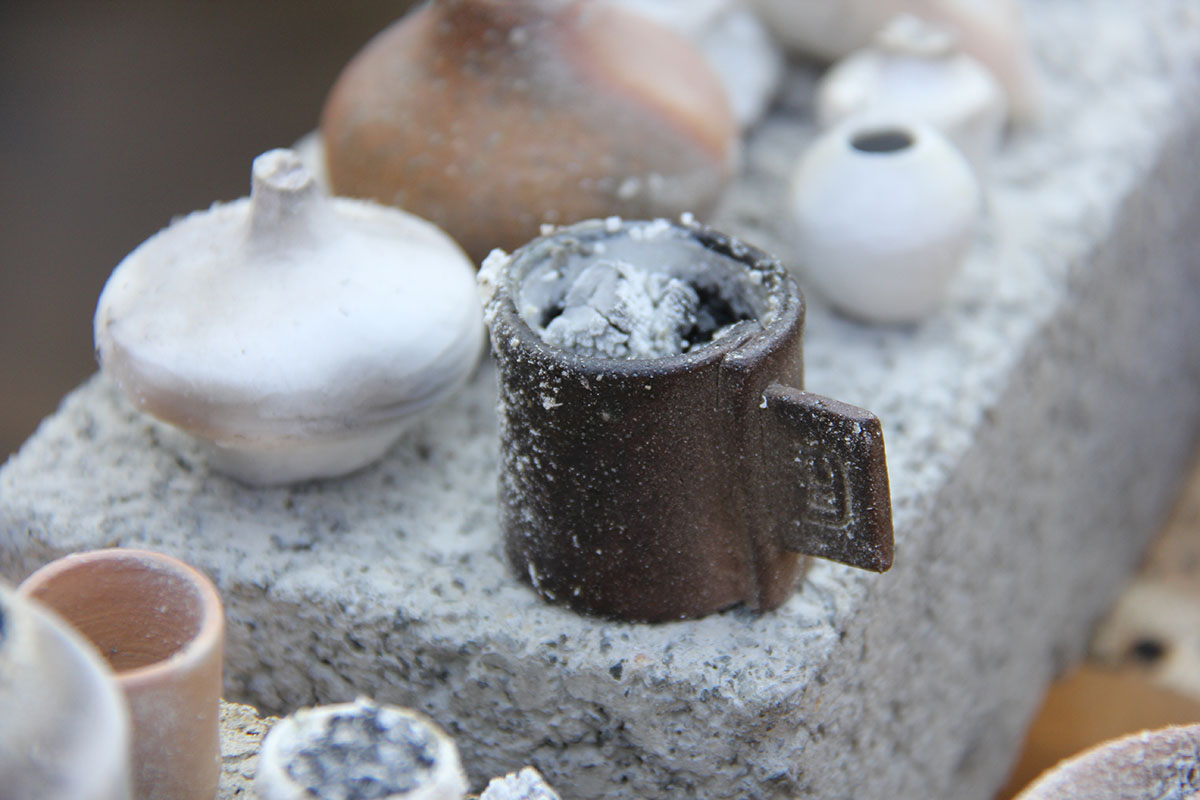
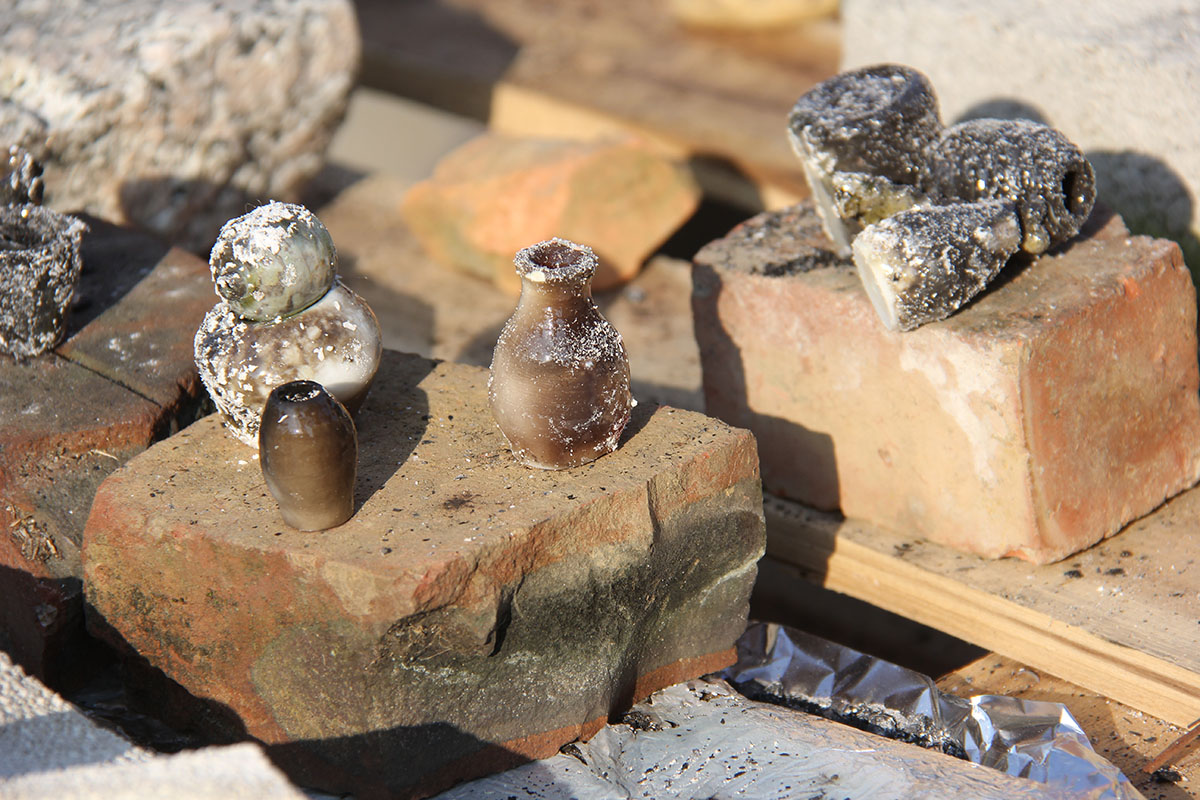
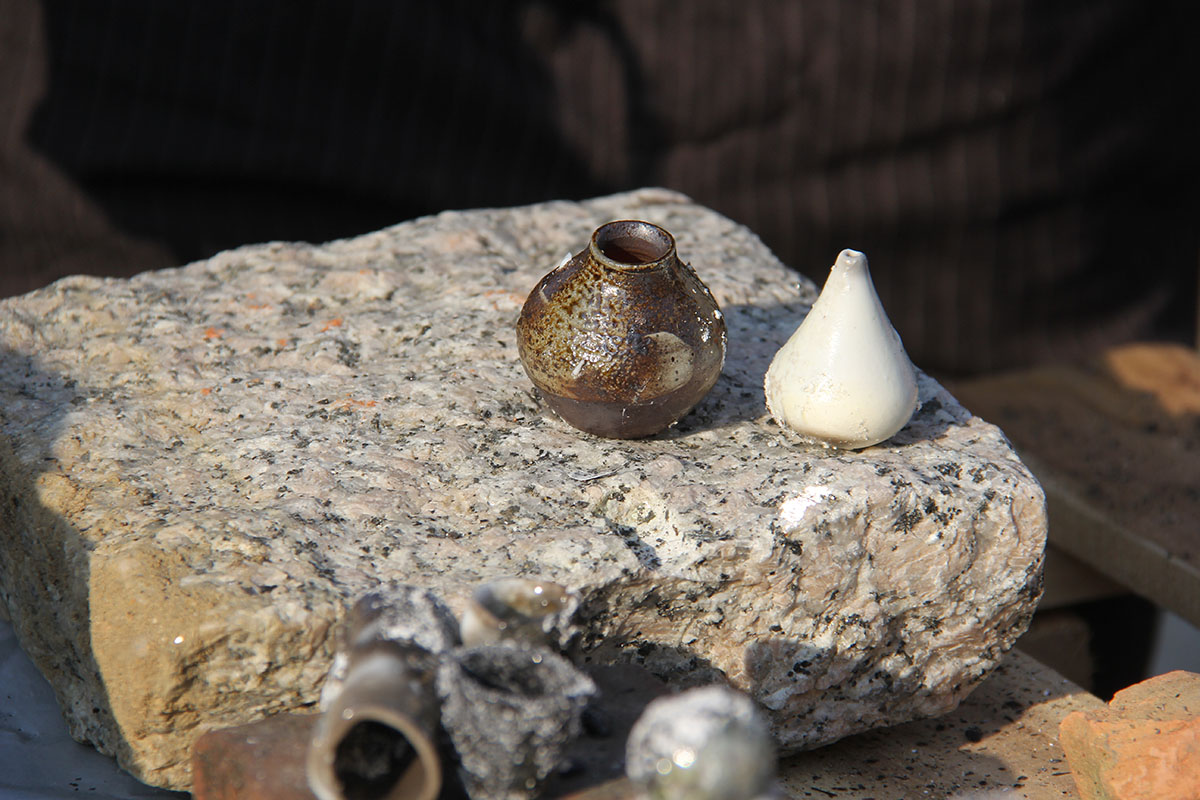
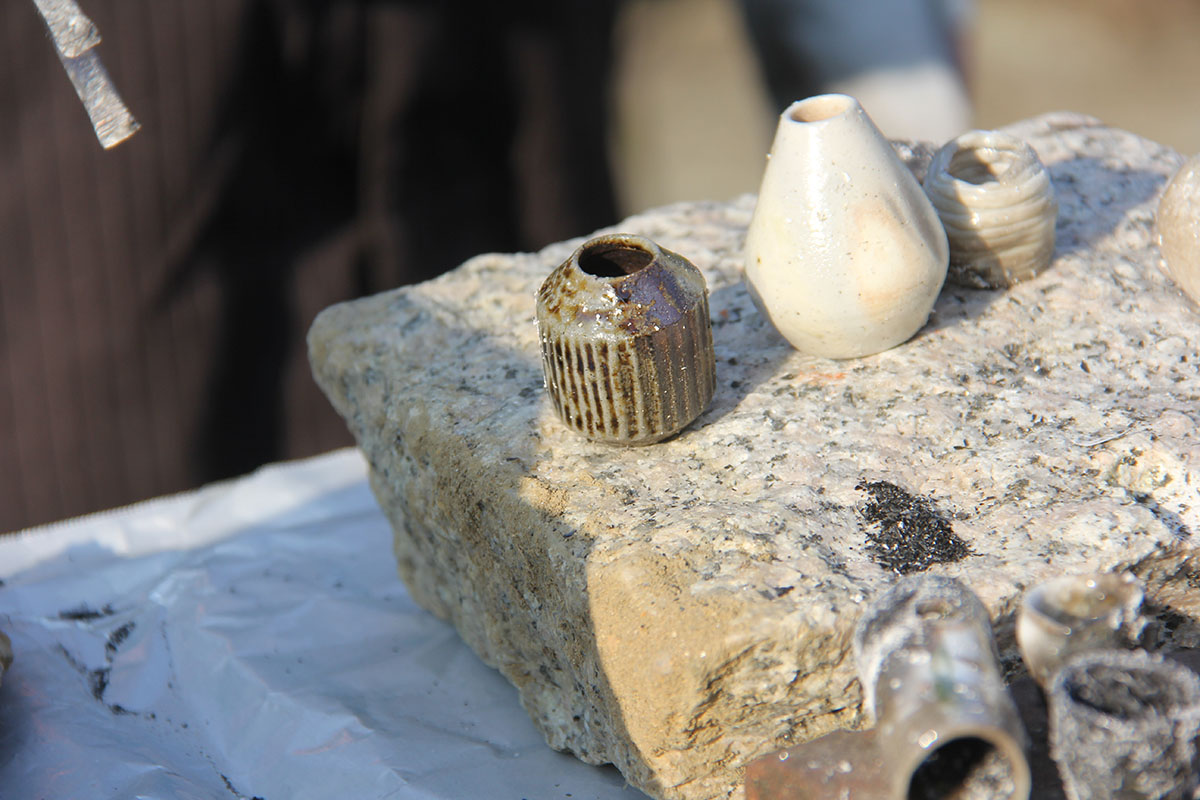
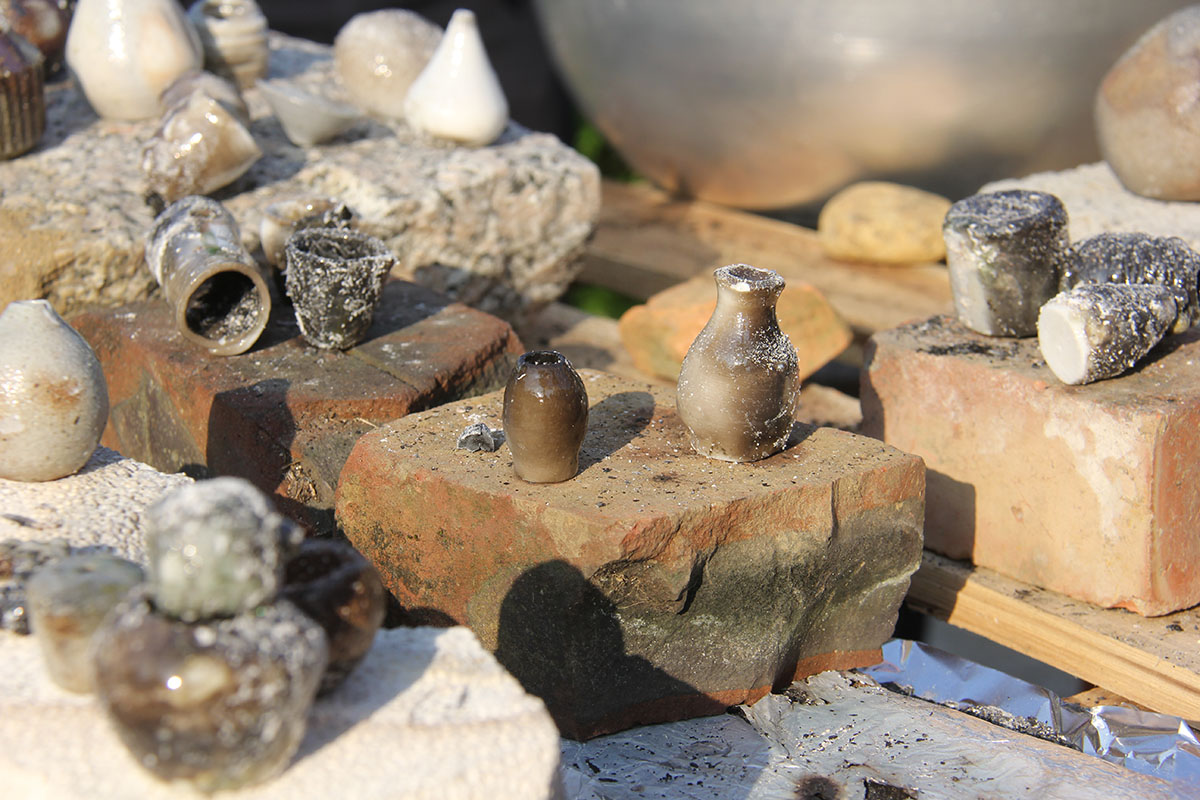
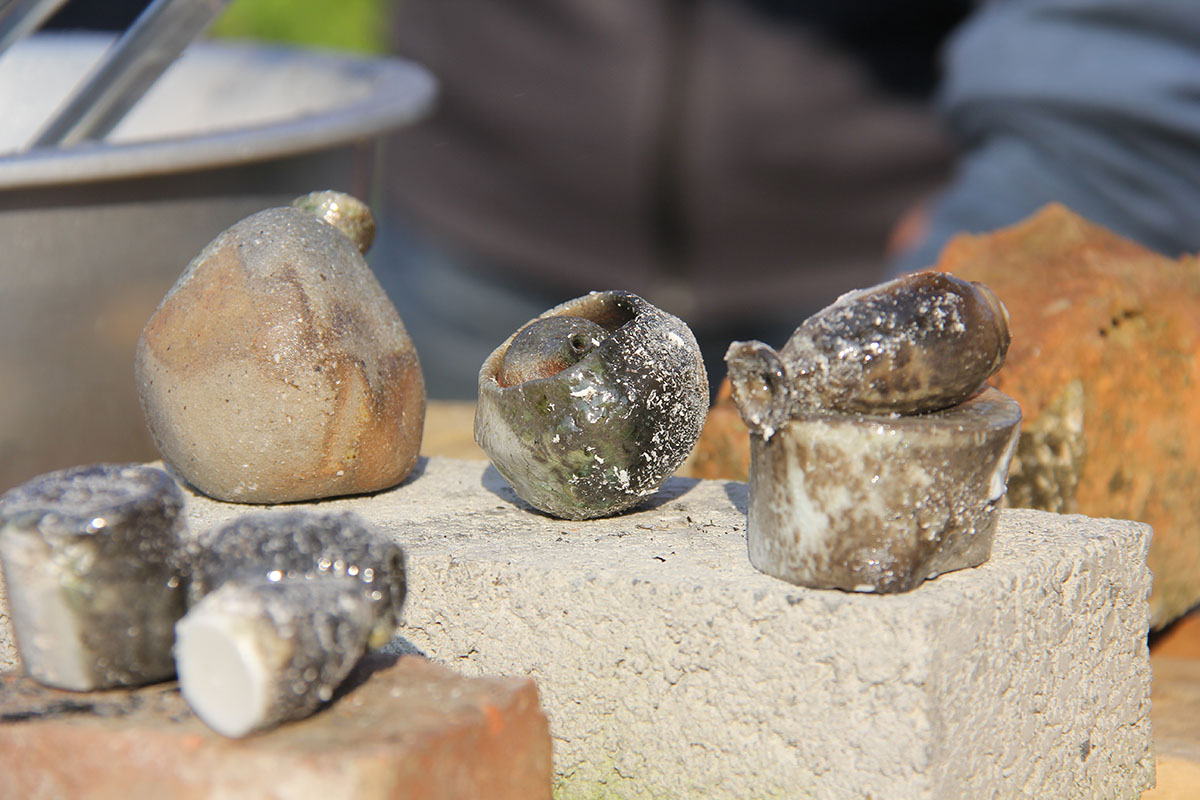
Once our peak temperature was reached we could open our kiln and remove the pots. The pots we put into the kiln were raw or bisc works but unglazed, we would rely on the ash from the charcoal and other organic material to create the glaze on the work. This meant we had to remove the pots quickly as they could end up sticking together because of the layer of molten glaze on their surface. We had to peel the pots away from each other while the glaze was still hot.
Opening the charcoal kiln brings with it far more suspense and excitement than opening an electric kiln in the studio. Being so much more involved with the process and so much more being left to chance, it is really exciting when you finally see your work come out. The marks left on the pots by flames or ash or organic material are totally unpredictable!
At the end of the day I fired two small cups and luckily I am quite happy with the results. The experience was really fun and educational and I can highly recommend it to any ceramic enthusiasts!


